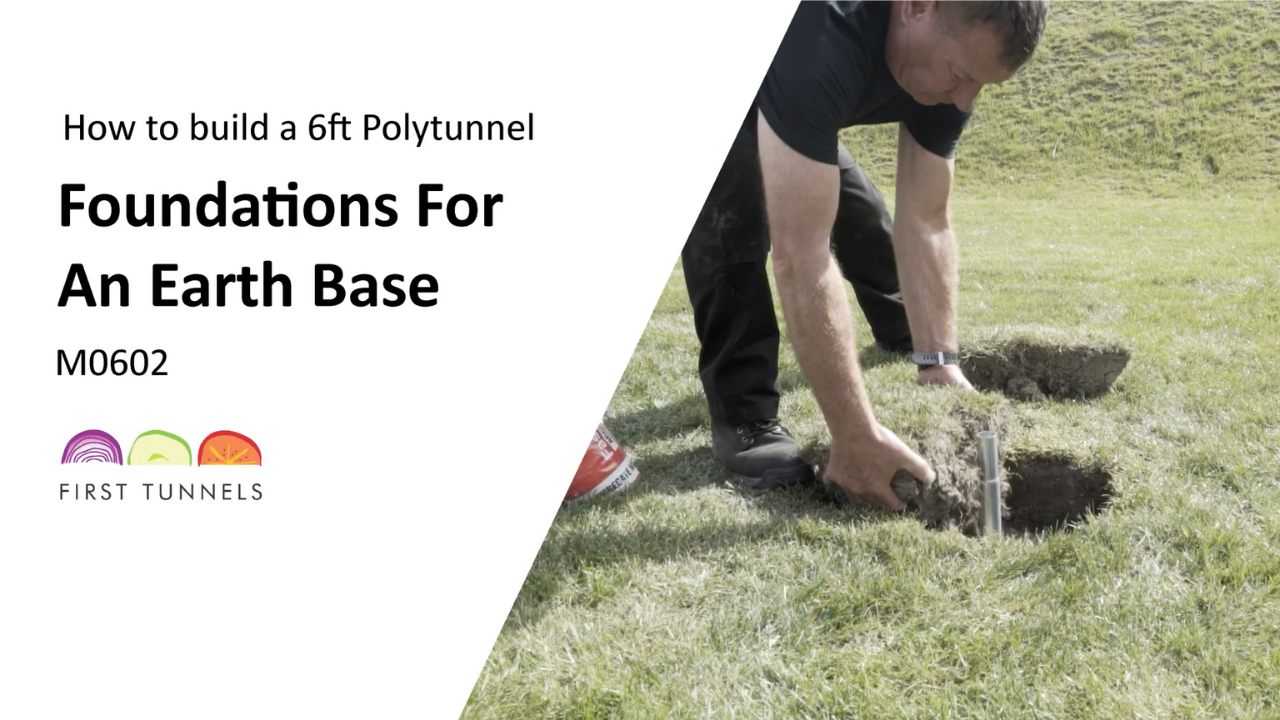
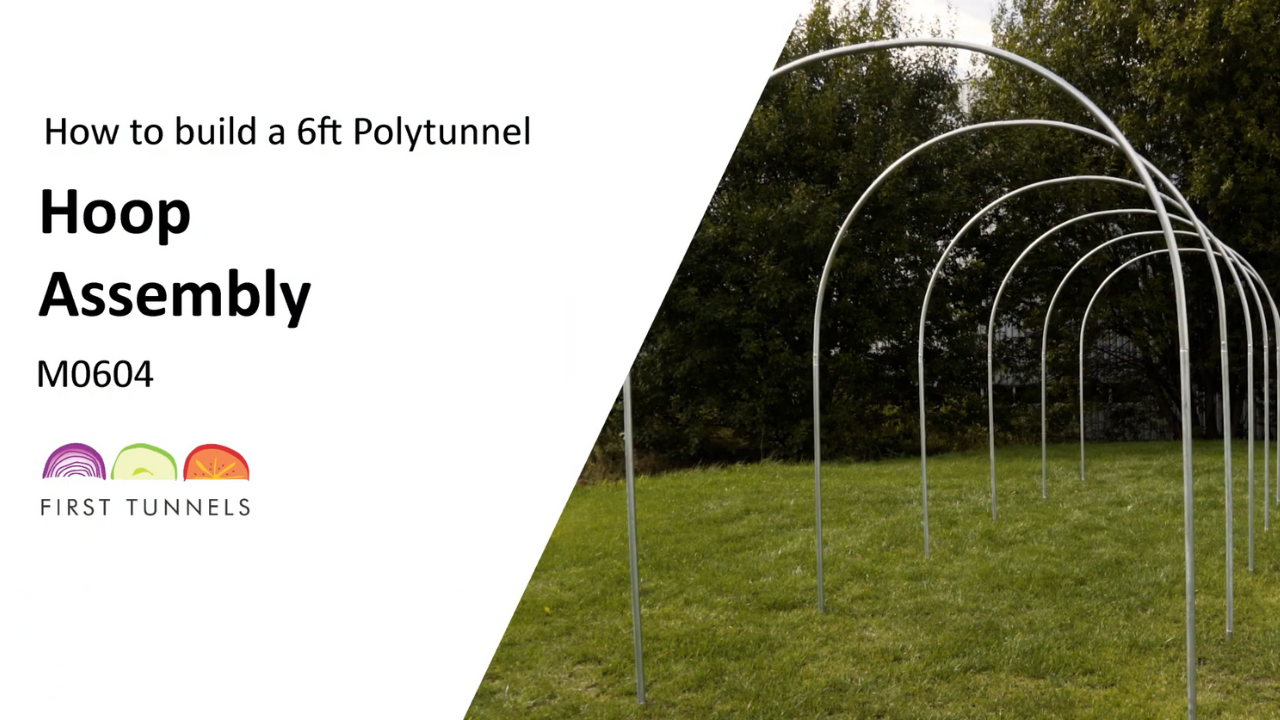
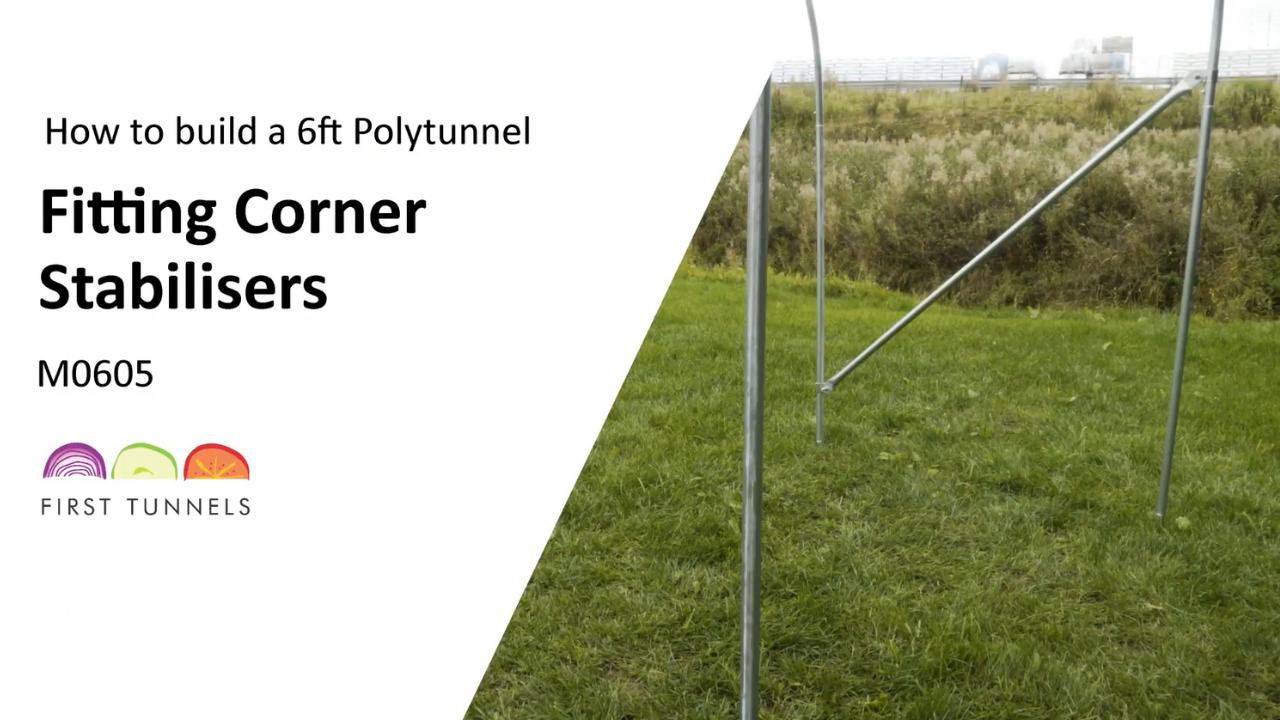
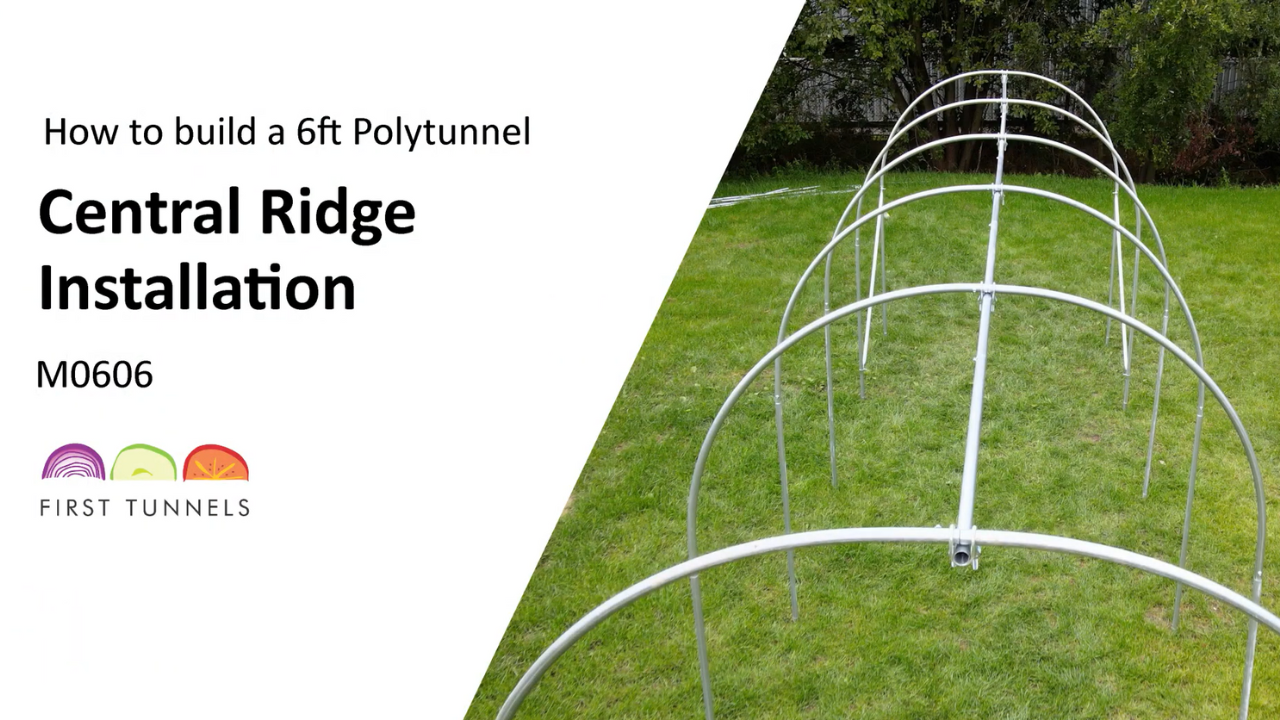
Setting the foundations is an essential part of constructing your polytunnel. Taking your time to set your polytunnel foundations correctly will ultimately result in a more robust polytunnel that performs well and looks good. All of your polytunnel foundations should be in line, evenly spaced and consistent in height. To get started you will need to position the four corner foundations. If you are using anchor plates or concrete, the swaged end of the foundation tube should be out of the ground when set.
NOTE: At this stage we are temporarily positioning the foundations to make sure we have the right measurements so only push them into the ground enough to steady them.
Take all measurements from tube centres. Choose a corner and position the first foundation (25/50PS). From this corner measure down the length of your polytunnel and position the second foundation where your polytunnel ends.
NOTE: It is essential that your foundations are set square. This can be achieved by ensuring that both diagonal measurements, from corner to corner, are equal.
This measurement is different for different sizes of polytunnel. We have listed the diagonal measurements in your construction booklet below: If your size isn’t listed we also have a useful polytunnel diagonal calculator available online that calculates this important length – please visit here. (firsttunnels.co.uk/diagonal).

Using 2 tape measures in tandem, measure 6ft across the width from the second corner and diagonally from the first corner to position the third corner foundation. Repeat this procedure to position the final corner foundation. Finally, double check that the measurement between number 3 and 4 corners is correct for your length of polytunnel. Using the example size below, a 6ft x 24ft would have diagonals that equal 7.55m.

Your corner foundation are in position and are square you should now check that the site is level. A slope along the polytunnel’s length is not an issue, however, if the site slopes across the width then the foundation on the lower side will need raising out of the ground until they are level with the other side. This is to ensure that the hoops are vertical. We suggest that the foundations are raised no more than 15cm, as you require enough foundation to be secured in the ground. Screw anchors will not be suitable if they require to protrude more than 15cm. We can supply longer foundation tubes if required please visit FirstTunnels.co.uk/tube.
Checking the degree of slope can be achieved by running a taut string line from the base of a corner foundation across the width. Delicately holding a spirit level on the string line or using a line level can determine the slope.If a slope exists, you must start by fitting the foundations on the side that is highest first. We will now explain how to secure the foundations into the ground. If you are using anchor plates or concrete, you will be required to measure around the foundation tube and excavate a 40cm square by 45cm deep hole (fig 2a). This means you will be required to re-measure the position of the foundation tubes as you progress using the methods demonstrated earlier.
If using screw anchors (SA1) or are simply knocking the foundations (25/50PS) into the ground electing not to use anchor plates or concrete, only when securing your cover into a trench, the two corners on the higher side can be screwed or knocked into the ground. For screw anchors simply slot the turning bar through the tube and start turning clockwise until the bar stop is at ground level. If the site is level then all four corners can be fixed (fig 2b). If you have found that your ground has a high stone or rubble content you will be required to excavate a hole and secure your screw anchors with concrete. Reposition the foundation tube using the method demonstrated earlier. The base of the hole can be used to hold the foundation tube in place. Protecting the swaged end with a piece of timber, knock the foundation tube into the base of the hole. The base of the swage should be set at ground level. Use a piece of timber to lay over the hole as a guide (fig 2c).
To secure foundations using anchor plates (AP25). Secure an exhaust clamp (EX25) to the bottom of the foundation tube using a 13mm spanner. Slide an anchor plate down the foundation tube to meet the clamp and then secure another exhaust clamp on top (fig 2d). You can backfill the hole, packing the soil as you go. To secure polytunnel foundations using concrete. Secure an exhaust clamp approximately two-thirds down the tube (fig 2e). The clamp prevents the unlikely instance of the tube sliding out of the concrete block. We suggest using concrete that is 1 part cement and 5 part aggregate. We also recommend ‘PostCrete’. This ready-made mix is supplied in 20kg bags and you simply add water. Approximately two bags per hole will be required.
We have explained how to secure the first foundation in position you can now proceed to secure the remaining three corner foundations. For the second corner, use two tapes in tandem to reposition the foundation and secure using anchor plates or concrete. Now secure the third corner. The foundations on the opposite side of your polytunnel must be set level across the width. This may require setting the foundations higher out of the ground.
Using the method described earlier, reposition the foundation into the correct position. To ensure the foundation tube is set level across the 6ft width, tie a string line onto the second foundation tube close to the top. Adjust the height of the foundation tube to the correct level across the width. You may be required to return back some of the hole spoil to accommodate this. Once the third foundation is the correct height and position secure it into the ground using anchor plates or concrete. If your site is not level and you are using screw anchors tie the string line just above the bar stop, pull the string line across the width and screw the third corner screw anchor into the ground until both bar stops are level.
Reposition and secure the final corner foundation. Using two tape measures in tandem, reposition the foundation in the excavated hole. Tie a string line from the first corner foundation and pull it taut across the 6ft width to ensure the fourth foundation is level with the first foundation and secure into the ground using anchor plates or concrete. You have now positioned and secured all four corner foundations. You can now install the intermediate foundations.
Use a measuring tape to position intermediate foundations at 4ft spacings. Use a taut string line between the two corner foundations to ensure the intermediate foundations are consistent in height and in line. Reposition the intermediate foundations in the hole and secure using anchor plates or concrete. Secure in place using anchor plates or concrete. If you are using screw anchors, position them and screw into the ground using the same method as earlier ensuring they are level. Repeat on the opposite side.

