


During the manufacturing process the hoops are oiled, you will be required to remove the oil with a degreaser such as hot soapy water or white spirits. This is required as the polytunnel cover will be protected from the hoops with an adhesive tape. It is easier to clean the hoops prior to assembling them. Start by assembling the hoops on a flat, clear area. Each hoop of the polytunnel is made out of four pieces. The two outer hoops (OHS1) have one swaged end and one plain end. One arched inner hoop is plain on both ends (IHP1) and the other arched inner hoop is swaged at one end and plain at the other (IHS1) (fig 4a).
Connect the sections of hoop together by slotting the swaged end into the plain end (fig 4b). Secure the tubes together using a self-drilling screw (SDS55) with the provided driver socket (DB73946) 4cm from the joint (fig 4c). The screw is designed to drill its own hole. Start the drill slowly providing full power to the drill as the hole is generated, be careful not to over tighten.
TIP: Creating an indentation with a hole punch will stop the screw from slipping.
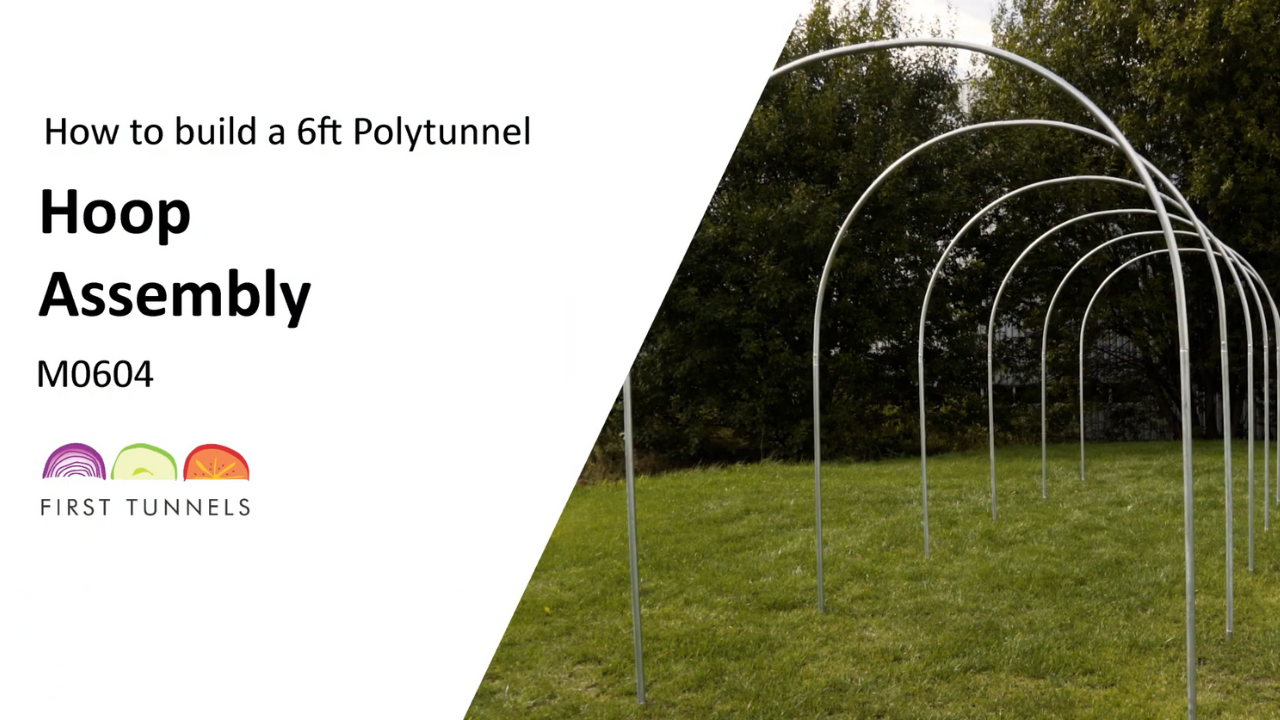
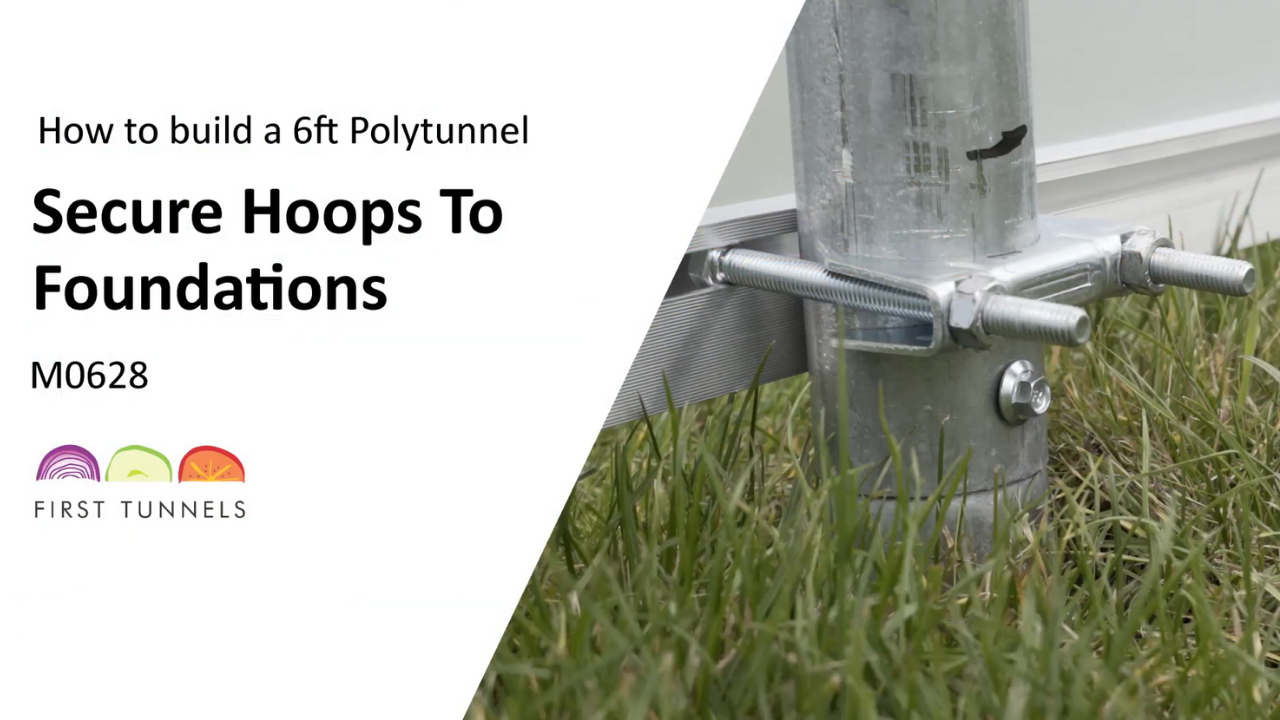
Flip the final hoop over prior to screwing, this ensures when the hoops are positioned the screw heads are internal to the structure and that the configuration of the hoop joints are identical for all hoops. Do not assume that the hoop when assembled is the correct width, it will look wider until positioned onto the foundation tubes or base plates. The hoops will need to be put under tension to get the required width. Position an assembled hoop at one end of the structure, ensuring the screw heads are not externally facing, this will prevent damaging the polytunnel cover when fitted. Repeat this process for all hoops.
Click to enlarge

4a

4b

4c