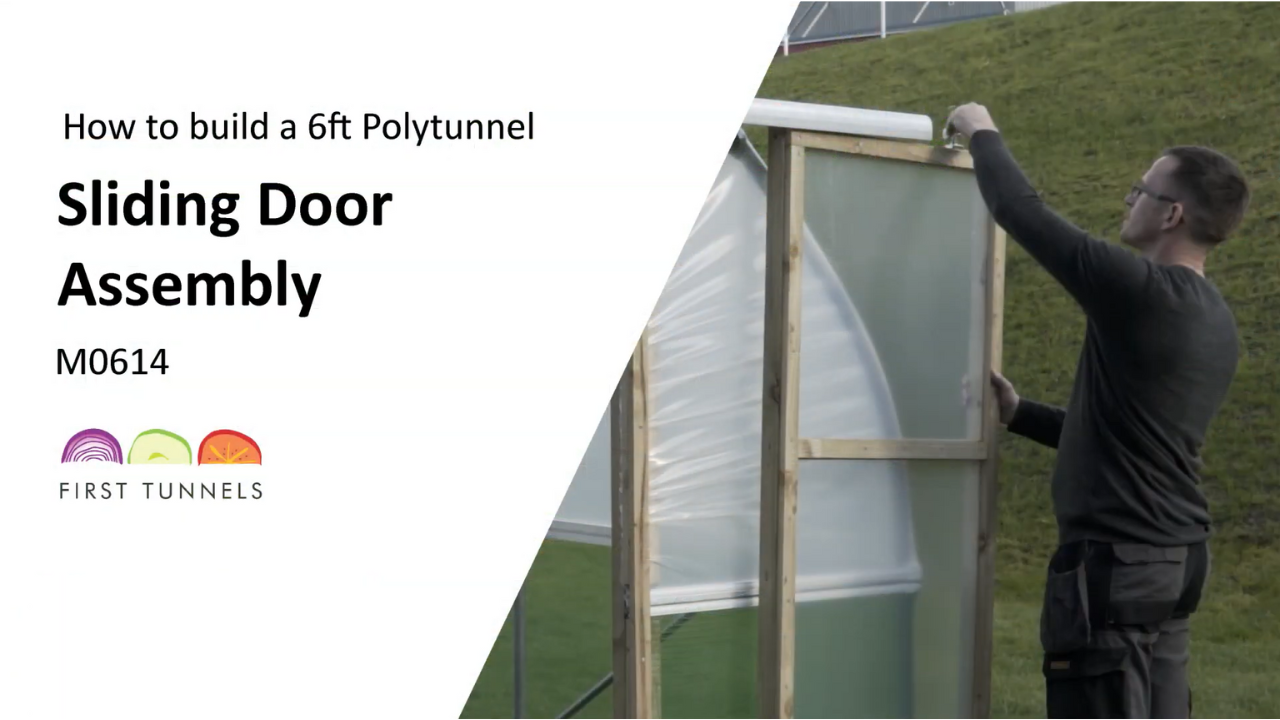
Constructing the doors in the warmth of your garage or on a hard flat surface is easier than trying to perform the operation on site. Both the standard and wide doors are made up of two uprights and three cross pieces. The uprights are 50mm x 50mm timber and are 1.8m long. The cross pieces are also 50mm x 50mm timber but are different in length. Cross pieces for a standard door measure 59.5cm and for wide doors the measurement is 79.5cm (fig 12a). The remaining pieces of timber in the pack are battens which we will use to secure the door cover to the door.
Start by drilling 3 pilot holes in each upright with a 3mm timber drill bit. Using a tape measure, mark the position of the holes on the uprights with a pencil. Holes are required 3cm in from each end of the uprights and the third hole needs to be 65cm from one end. Ensure you drill the holes central to the width of the timber. Lay the two uprights parallel to each other ensuring that the holes align and then position the three cross pieces between the two uprights centrally with the holes. Once you are happy with the alignment, screw them together using the 75mm screw supplied in the sliding door furniture kit (fig 12b).
The joints will then be strengthened with nail plates supplied in the door furniture kit. Position a nail plate centrally across the joints and nail into place using twisted nails (fig 12c).
NOTE: Nail plates only need to be added to one face of the door.
The polythene panels will be fitted to the door (PP2). Fit the panels to the side which does not have nail plates. Lay one polythene panel over the larger rectangle of the door and secure one edge to the middle crosspiece with staples and a staple gun (fig 12d). Lay the other panel over the smaller rectangle and secure the edge to the middle crosspiece. Pull the panel tight and secure along the opposite crosspiece. Work down one side and secure it to one upright. Pull it tight across the width and secure to the opposite upright. The other polythene panel is secured in the same way. Pull it tight to the bottom of the door and secure it to the bottom crosspiece. Secure it to one upright and then pull the polythene panel tight across the width ensuring there are no wrinkles and creases and secure with staples.
Nail battens on top of the panels, nails should be approximately 20cm apart (fig 12e). This will further secure the panels in position. The battens are 19mm x 38mm timber and come in 1.8m lengths. If you have standard doors you will have been supplied 3 battens per door. For wide doors you will have 4 battens per door. Two battens are used on the 2 uprights. The remaining battens will need to be cut to fit onto the 3 crosspieces. Trim the excess polythene off with a sharp knife (fig 12f).
The sliding door runs on two sets of wheels screwed to the top of each door. These wheels run in an aluminium track which is bolted to the outside of the door frame lintel after the polytunnel has been covered (fig 12g). Assemble the wheels by sliding the head of the bolt onto the bracket so the head is sat in the dip in the bracket, thread the washer faced nut onto the bolt and tighten. Thread the wheel assembly onto the bolt until the end of the bolt is flush with the nylon washer. Screw the wheel assembly to the top of the door centrally and 10cm from each end (fig 12h). Ensure the slot of the bracket is on the inside face of the door, the inside of the door is the side with nail plates. Using a 4mm timber drill bit drill a pilot hole for each hole and then secure the bracket to the door using the screws provided in the sliding door furniture kit.
To make the door frame we suggest using your doors as a template to make the door frame to achieve a good fit. The door frame comprises of 3 pieces of 47mm x 75mm timber: the two door posts are 2.4m long and the door frame lintel is 1.6m long. The door frame lintel suits all three variations in door widths; Standard, Wide and Double and will need cutting to size The remaining pieces supplied in the pack are 19mm x 38mm x 1.8m battens, one of which will be used shortly, and the rest will be used later when fitting your polytunnel cover.
Lay the previously assembled door on the floor with the nail plates facing upwards. In the case of double doors lay two doors adjacent to each other (fig 12i/j). Place a door post on top of each side of the door ensuring the outer edge of the door post is flush with the outer edge of the door (fig 12k). Cut the door frame lintel to size. Carefully measure the distance between the two door frame posts. Make note of the measurement and then cut the timber to size.
To secure the door frame lintel and door frame posts together. Position the door frame lintel so that the top of the lintel is 24cm down from the end of the door frame post on each side. Make a second mark centrally to the door frame lintel for the pilot hole. Drill a pilot hole with a 4mm timber drill bit in line with the second mark from the outside edge. Screw the door frame post to the door frame lintel using a 150mm screw (fig 12l). Repeat this on the opposite side.
To ensure that the door frame keeps it’s shape cut a piece of batten and nail it to each door post across the width (fig 12m). Ensure that the measurement at the bottom of the two uprights is equal to the width at the top and your door frame lintel (fig 12l).. If on earth base, measure from the bottom of the lintel 1.8m down to the top of the batten. If on a hard base, this measurement is 1.7m. The joints on the door top lintel to the door post can now be reinforced through the use of a nail plate on each side of the joint, using a nail plate and 3cm twisted nails (fig 12n).
Next you will need to fit your door frame to your polytunnel. We will explain how to secure the door frame to your polytunnel on both earth and solid bases. Run a taut string line across the width of your polytunnel on the end hoop across the front of the hoop. Position the assembled door frame centrally to the width and flush with the end hoop and string line. Make a mark on the ground where your door posts are. If you are fitting to an earth base you will be required to excavate a 30cm square by 40cm deep hole for each door post (fig 12o). If you are on a solid base measure 10mm from the bottom of the door and cut off the excess of the door frame post.
Reposition the door frame onto the end hoop and into the excavated holes. In the case of an earth base the batten will sit on the ground. Ensure the door frame is central and vertically level. Draw a line on the door frame posts where it meets the hoop and cut on this line (fig 12p). Reposition the door frame for the final time. Once you are happy with the position secure the top of the door posts to the hoop using P clips. Fit a P clip onto the hoop so that both prongs of the p clip run down the front face of the door frame post. Secure the P clip to the door frame post using the screws provided in the p clip pack (fig 12q). Ensure the door frame lintel is level and then fix the p clips into position by screwing them to the hoop with a self-drilling screw (SDS55).
To secure the door frame posts to the ground position the door frame posts flush with the string line and then secure to the ground. If on an earth base backfill the hole with soil, or use postcrete for added strength. If on a solid base, fix the base of the plate to the floor using Shield Anchors for concrete or Coach Screws for timber. Position the door frame post plate on the ground on the inside of your polytunnel, make a mark through the centre hole then remove (fig 12r). If on a concrete base drill a hole 7cm deep using a 14mm masonry drill bit. Separate the bolt and washer from the sleeve and insert through the hole in the door frame post plate and then screw on the sleeve. Locate the shield anchor into the hole and firmly tighten using a 13mm spanner. If on a timber base drill a pilot hole 5cm deep using a 7mm timber drill bit. Reposition the post plate and tighten the coach screw using a 13mm spanner. Finally, screw the plate to the door post using the screws provided (fig 12s). When the door frame posts are firmly in position, remove the batten.
The sliding door support rail is now fitted. Sliding door support rails are fitted between the door post and corner hoop to support the sliding door. If you have double doors you will fit 2 sliding door support rails, one on each side. If you have a single door you will only fit one to the side you door opens. Sliding door support rails are 47mm x 75mm timber and come in lengths of 1.6m which will need cutting to size. From the ground, measure up the door post 30cm. Position a piece of timber flush with the door post and horizontally level and cut the piece of timber to fit between the door post and corner hoop (fig 12t). To secure the support rail to the door post drill a pilot hole with a 4mm timber drill bit and then fix in position with a 150mm screw.
The support rail is fixed to the corner hoop using a P clip supplied in the sliding door support rail fixing kit. Position a P clip onto the corner hoop with both prongs of the P Clip running along the front face of the sliding door support rail and secure in place with screws provided. Ensure the sliding door support rail is level and then use a self-drilling screw to secure the P clip in position on the corner hoop. Reinforce the joints between the door frame post and support rail using a nail plate and twisted nails on both sides. Position a nail plate so it bridges the joint equally and use a nail for every hole. The final step for the support rail is to fix a batten to it on the outside. The batten should be cut to fit between the end of the P clip and approximately 5mm away from the joint on the door post. Once the correct size, nail batten to the support rail ensuring the top edges are flush.
NOTE: The process of fitting your sliding doors will be done once you have fitted your polytunnel cover.
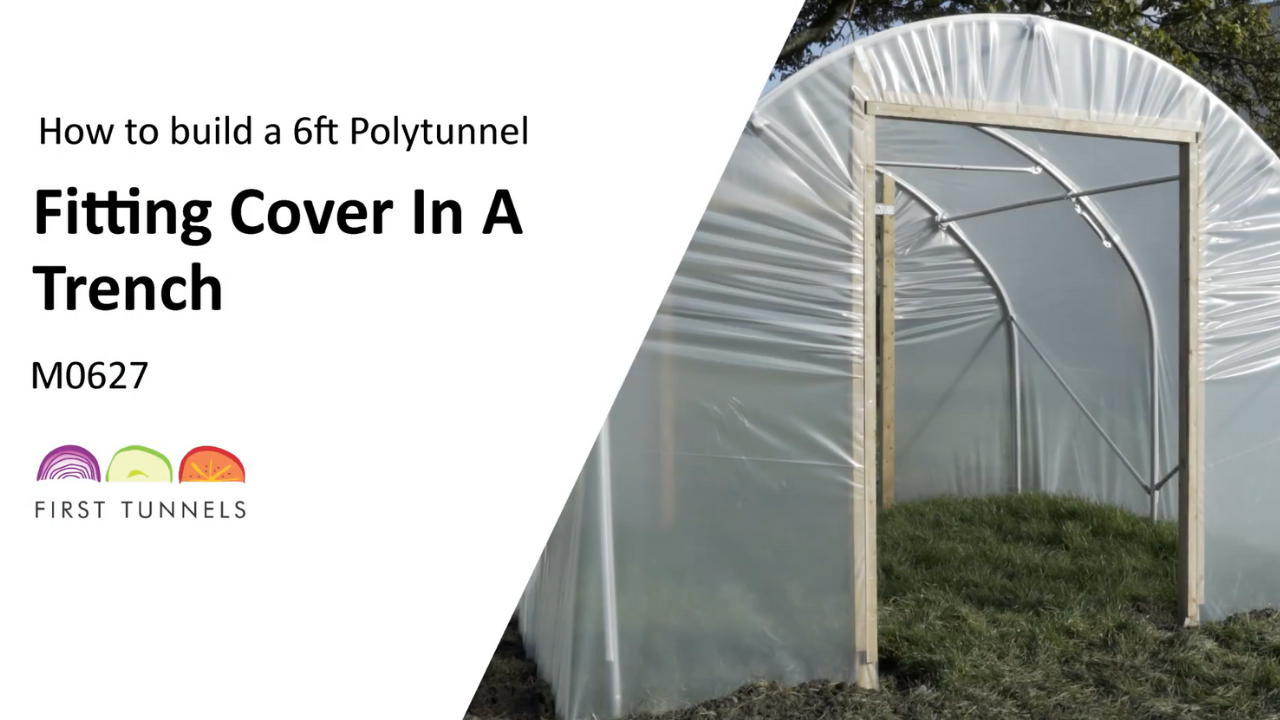
Please read the instructions fitting the polytunnel cover to an aluminium or timber rail or the trenching method and then return to this section to perform the final fit of your sliding doors. The aluminium door rail track is supplied in lengths to accommodate your chosen door. The door track for a standard door is 1.4m, for a wide door it is 1.8m or for double doors the door track is made from two pieces that measure 1.4m. If you have double doors you will be required to join the two pieces of door track together. Join these together by inserting a rail joiner approximately half-way into the tee slot on the rear of the door track, position the second track so the ends meet. Check that the rail joiner is central and tighten all 4 grub screws with the supplied 3mm allen key (fig 12u).
The door track is bolted through the lower batten and the lintel (fig 12v). For standard and wide doors the door track is secured using 4 bolts. For double doors the door track is secured using 8 bolts. To get started make marks where holes are required. Measure 10cm in from the inner edge of the door frame post. Now measure 2 cm up from the bottom edge of the door frame lintel. From the bottom of the door track to the fixing channel is 2cm. The 2cm marks give a guide for your holes. Repeat on both sides. Use the door track to draw a straight line along the door frame lintel.
If you have double doors the door track is joined in the middle. The door track joiner will inhibit using fixing bolts within the central 20cm section. Find the central point of your door frame lintel and then measure 10cm either side to ensure you don’t position bolts there. Mark the position of the remaining holes required. Ensure they are all spaced an even distance apart. For single doors 4 holes are required and for double doors 8 holes are required. With a 9mm wood drill bit, drill the required holes. Slide one bolt per hole down the tee slot and position the door track. For single doors slide 4 bolts down the tee slot on the door track. The track should overhang on the same side as the support rail. Make the end that doesn’t over hang flush with the door frame post. For double doors slide 4 bolts down each end of the tee slot on the door track. The track should be positioned centrally and overhang evenly on both sides of the door frame.
Align the bolts into position through the holes (fig 12w). Bolt into position by fitting a washer and nut. The corners of the door track are sharp. Please ensure you fit the corner protectors to prevent any injury. To eliminate the risk of damaging the polytunnel cover when the door opens and closes, an extra batten is fixed on top of the sheeting batten on both door frame posts. A batten is also fixed directly on top of the existing batten on all sliding door support rails (fig 12x). Slide the doors onto the door track. If your doors are not correctly aligned, adjust the wheel assembly by turning clockwise or anti-clockwise.
Next the door stops will be fitted. Door stops prevent the doors from rolling out of the track. For single doors a door stop is required at both ends. For double doors door stops are required at both ends and another 2 in the middle (fig 12y). Assemble the door stop by screwing the slotted grub screw through the bracket and into the rubber stop (fig 12z). If you have double doors you will be required to remove one door from the track. Slide 2 door stops down the door track to the centre (fig 12aa). Re-hang the second door. Close the doors so they are central to the frame and then adjust the door stops to butt up to the wheels and secure in position by tightening the screw. Slide in the outside stop and tighten the slotted grub screw. Adjust each stop by releasing, sliding along and re-tightening until the door stop is in the required position.
The door guide prevents your sliding door from swinging in the wind. Assemble the door guide by screwing on the flange nut onto the threaded rod with the flange to the top, slide on the nylon roller and secure with the locking nut (fig 12bb). You will need to hold the rod with grips to hold it tight while screwing on the locking nut. Do not tighten the nut completely, allow the roller to turn. Position the door guide in line with the door frame post which the door slides past (fig 12cc). Making sure it is upright, drive the guide into the ground. For double doors you will be required to repeat this process for both doors. If you have a hard base, fix a door frame post plate to the floor (fig 12dd).
Door drop spikes are fitted to the outside face of the door on the opposite side to it opening. Measure up from the bottom of the door 9cm and make a mark (fig 12ee). Position a door drop spike guide bracket so the bottom of the bracket is flush with this mark. Mark the position of the 2 slots in the bracket and across the top. Now reposition the bracket so the bottom of the bracket is flush with the top mark and mark the position of the 2 slots again. Using a 9mm wood drill bit, drill a hole through the door for the 4 slots. On the inside face of the door insert pronged T nuts into each hole. Bolt the 2 angled brackets to the door with the slot on each bracket at the top. Close the door to the required position, slide the drop spike down through both brackets and mark the position on the ground. Open the door and bury the tube in the required position (fig 12ff). If your polytunnel is on a hard base the housing tube is not required. Simply drill a hole using a 9mm drill bit to an appropriate depth. For double doors you will be required to repeat this process on both doors.


