


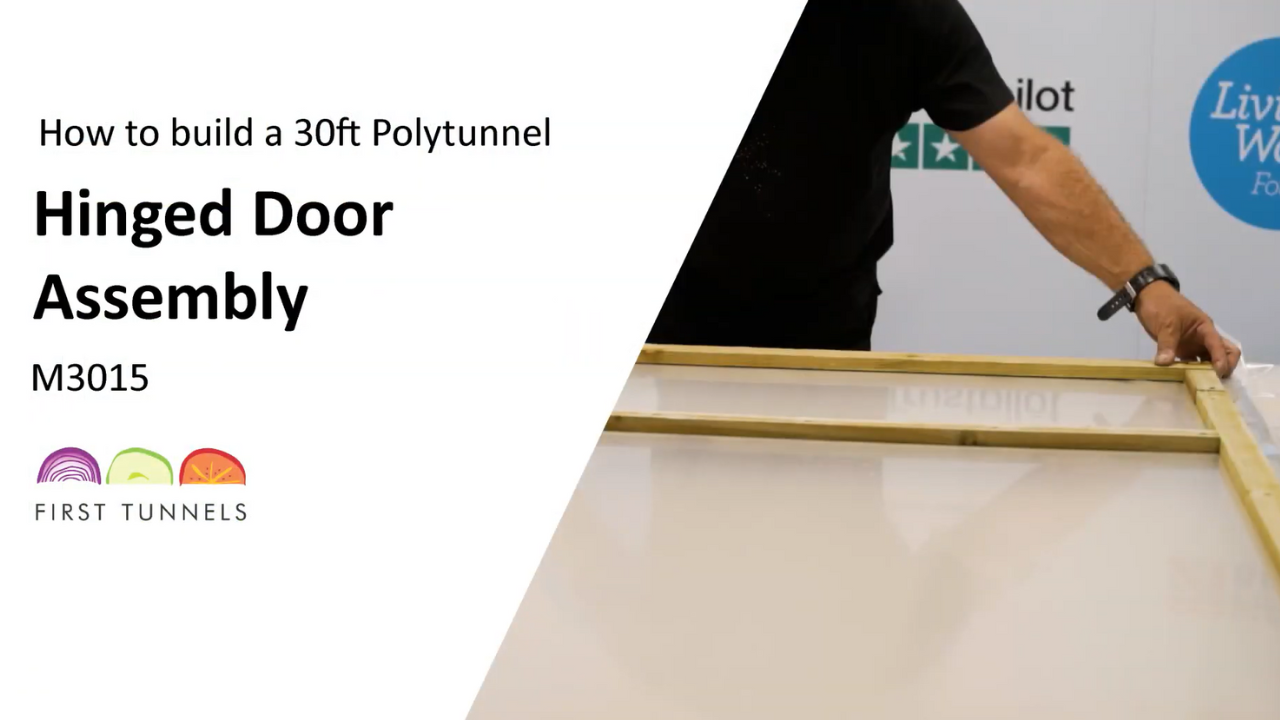


Constructing the doors in the warmth of your garage or on a hard flat surface is easier than trying to perform the operation on site. Each door (CID) is made up of two timber legs which are 47mm by 75mm and 2.1m long, and four cross pieces of the same timber and are 1m long (fig 13a). The remaining pieces of timber in the pack are battens which we will use to secure the door cover to the door.
Start by drillIng 4 pilot holes in each upright with a 4mm timber drill bit (fig 13b). Using a tape measure, mark the position of the holes on the upright with a pencil. Holes are required 4cm in from each end of the upright and a further two holes 50cm in from each end. Ensure you drill the holes central to the width of the timber. Lay the two uprights parallel to each other ensuring that the holes align and then position the four cross pieces between the two uprights centrally with the holes. Once you are happy with the alignment, screw them together using the 150mm screw supplied in the commercial door furniture kit (CDK). The joints need strengthening with the nail plates supplied in the door furniture kit (NP3) Position a nail plate centrally across the joints and nail into place using twisted nails (fig 13c). Flip the door over and repeat (fig 13d).
The polythene panel (PP3) will be fitted to the door. Lay the polythene panel over the door, ensure on edge of the panel is flush with the outer edge of one upright and use a staple gun to secure it down one upright. Pull the panel tight across the width and secure it to the opposite upright ensuring there are no wrinkles of creases in the panel. Secure the panel to one end of the door whilst pulling any creases out and then secure the panel to the opposite end of the door. Finally, nail battens around the frame on top of the panels. This will further secure the panels in position (fig 13e).
The battens are 19mm x 38mm timber and come in 1.8m lengths. You will be required to cut battens to size. The uprights require one full batten and a shorter piece cut to size. Position the batten flush with the inner edge of the door. Secure in position with nails approximately 20cm apart. Repeat on the opposite upright. Measure and cut battens for the four cross pieces and secure in place. Trim the excess polythene off with a sharp knife (fig 13f).
Finally the hinges will be fitted to the door frame. Hinges are fixed to the inner side of the door on the two middle cross pieces. You will be required to screw the triangle shaped leaf of the hinge to the cross piece and the rectangular shapes leaf will be secured to the door post later. Position the T hinge with the chamfered holes facing upwards with the rectangular leaf pointing downwards. Note that the nail plate will be visible through the holes of the hinge. You are able to drill through the nail plate with the screws provided, adjust position to avoid nail heads. Repeat this process for all additional hinged doors.
NOTE: The remaining screws for the hinge will be required once the commercial door frame has been fitted.
Click to enlarge

13a

13b

13c

13d

13e

13f