
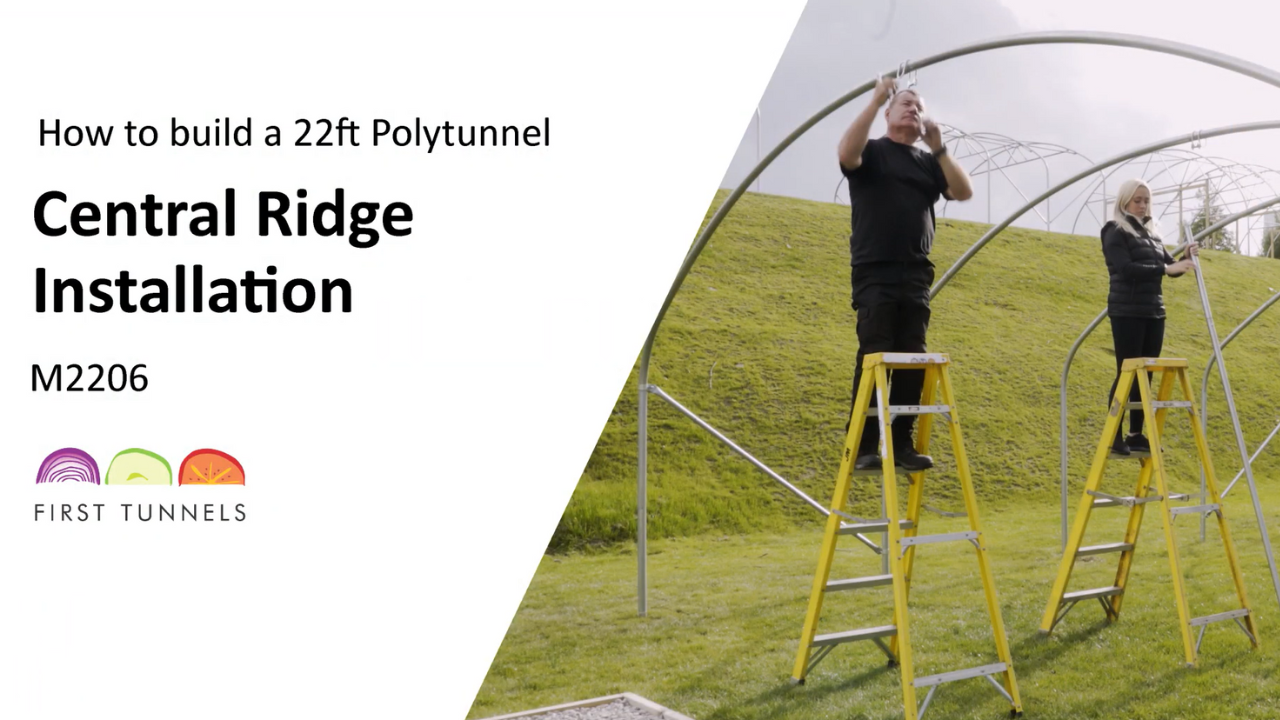


Your ridge will be supplied in several sections which slot together to make up the length of your polytunnel. One piece of ridge section is 61cm long which is plain on one end and swaged on the opposite end (35/61PS). The remaining pieces are 1.9m long and are plain on one end and swaged on the opposite end (35/190PS).
Slot the swaged end of short piece (35/61PS) into the plain end of the long piece (35/190PS) and secure using a self-drilling screw with the provided driver socket 4cm from the joint. This piece will be placed in position using ridge clamps (R5035). Position a ridge clamp on the first and second hoop centrally on the apex ensuring the threaded section of the clamp on the end hoop is to the inside of the polytunnel (fig 6a). Slide the ridge tube through both ridge clamps ensuring the plain end is on the end hoop, tighten the end clamps with the plain end of the ridge tube protruding as little as possible through the ridge clamp (fig 6b).
Ensure the hoops are vertical, the end hoops have been set vertical when fitting the corner stabiliser, visually adjust the intermediate hoops so they look vertical and tighten the ridge clamp. Work along adding sections of ridge tube and securing the to hoops using ridge clamps (fig 6c). Secure the two tubes together using a self-drilling screw 4cm from the joint. Ensure that all intermediate hoops are vertical and tighten the ridge clamp. The final ridge tube will exceed the length of your structure, you will be required to trim the tube so it is protruding as little as possible through the ridge clamp.
NOTE: The ends will be sharp, protective tape will be applied at a later stage.
Click to enlarge

6a

6b

6c