
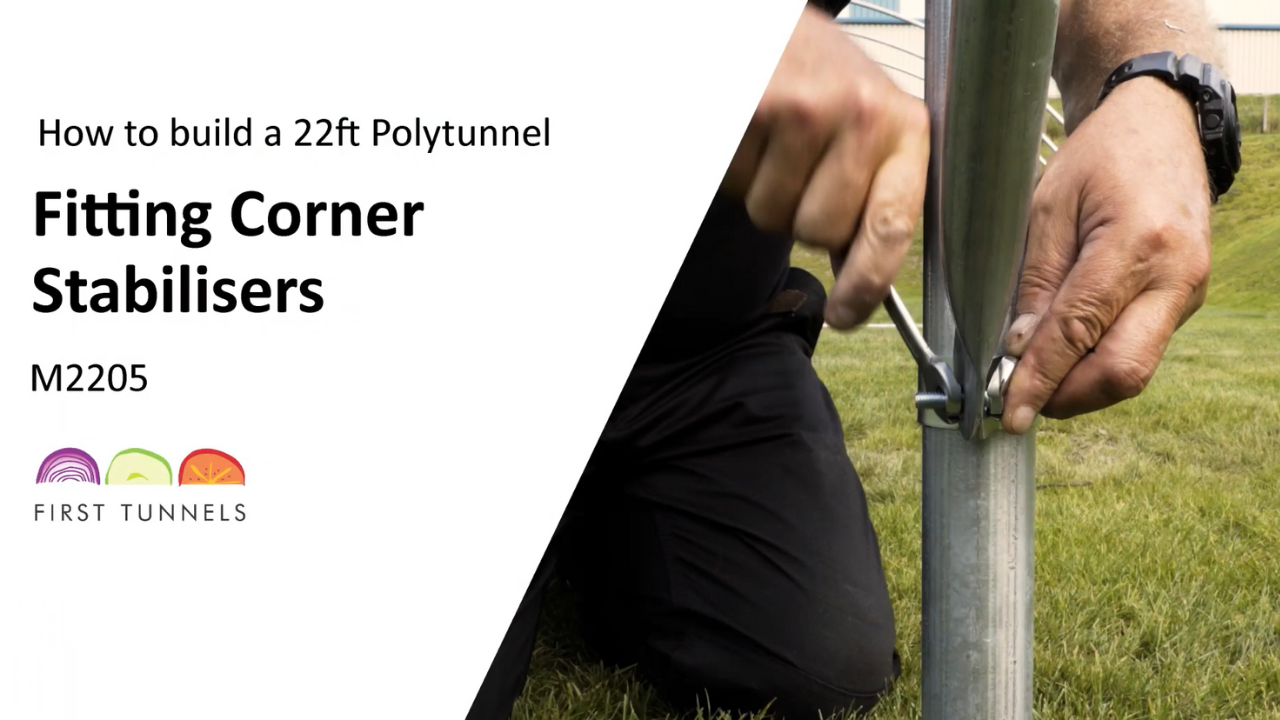


There are four corner stabilisers. One for each corner. The corner stabiliser bars are positioned on the end hoop and the first intermediate hoop (fig 5a). On the 22ft wide polytunnel the corner stabiliser is made from 2 pieces. One piece is 190cm long, flat at one end and plain at the opposite (35/190FP). The other peice is 45cm long, flat at one end and swaged at the opposite (35/45FS).
Starting on the first intermediate hoop in from the end hoop, position a Q clip 18cm above the hoop and foundations joint (fig 5b). A Q clip can be pushed onto the hoop. If the Q clip is stiff use a hammer to tap onto the tube. The bottom of the Q clip should be on the 18cm mark. Once the Q clip is on the hoop use a pair of pipe grips to tighten the prongs together. Locate the flat end of (35/190FP) to the the Q clip (Q50), push a bolt through the hole ensuring the threaded part is on the inside of the polytunnel and firmly tighten the nut (fig 5c). The bottom of the Q clip should be on the 18cm mark. Slide the swaged end of the shorter piece (35/45FS) into the plain end of the longer piece, position another Q clip on the first intermediate hoop and locate the flat end of (35/45FS) to the Q clip, push a bolt through the hole and tighten finger tight (fig 5d).
Adjust the two pieces so that you are able to slot them both together. Secure the two pieces of the corner stabiliser together with a self-drilling screw (SDS55). Place a spirit level on the end hoop and adjust the Q clip up or down until the hoop is vertically aligned and firmly tighten the final Q clip. Repeat this process to fit the corner stablisers on the remaining 3 corners of your polytunnel.
Click to enlarge

5a

5b

5c

5d